Showing posts with label WW2 Naval. Show all posts

Saturday, 25 May 2019

Denmark Strait - The Battle

I played out my Denmark Strait battle last night on the anniversary of the battle. Alas no photos as the lighting in the lounge isn't great (and I forgot anyway). The game was played using my "Find, Fix and Strike" rules.


Battle of the Denmark Straits

Battle was joined at 0558 as Hood and Bismark began to trade shots at 25,000 yards, Hood scored first blood, causing a hit and minor damage to Bismarck.

0604 – Holland completes his turn and closes with the German squadron. Over the next 10 minutes the range slowly drops to 18,000 yards. Bismarck scores a 15” hit on Hood, causing minor damage and a small fire. PoW suffers a gunnery failure

0614 – The range has fallen to 16,000 yards, PoW clears her gunnery problem and scores an immediate critical hit on Bismarck, causing heavy structural damage

0620 – Prinz Eugen engages Hood with 8” but to no effect. Return fire from secondaries on Hood and PoW cause minor damage to Prinz Eugen

0625 – Lutjens orders Prinz Eugen to close with Hood to execute a torpedo attack

0630 – Hood Alters course to the South to prepare for Prinz Eugen’s attack. Bismarck hits Hood but no serious damage is caused. Hood’s minor fire is extinguished.

0635 – Prinz Eugen prepares to launch torpedoes but is crippled by a deadly salvo from Hood. Her torpedoes run wide, missing the British flagship. At the same time a hit from PoW destroys Bismarck’s bridge, killing the Captain Lindemann and Admiral Lutjens

0638 – Both British battleships concentrate on Bismarck, but PoW’s guns fail again. Bismarck scores a heavy hit on Hood causing major damage

0646 – Hood is slowed by her damage and hauls off, but takes the opportunity to finish off the crippled Prinz Eugen.

0652 – Bismarck hits PoW for the first time but causes no damage. In return, PoW brings her guns back into action and causes heavy damage to Bismarck. This, combined with her earlier structural damage, slows the German battleship and places her at significant risk

0658 – PoW scores another heavy hit on Bismarck, leaving her crippled

0705 – Bismarck is now effectively unable to fight, but PoW’s guns fail again

0720 – PoW brings her guns back into action. In the next 12 minutes she hits Bismarck repeatedly leaving the German battleship in a sinking condition.

0725 -  Bismarck hauls down her colours as scuttling charges hasten the sinking of the once-proud battleship. PoW moves in to pick up survivors.

This was a fun game to play out, taking about an hour to complete (so not that much different from the time of the "actual" game, which was pleasing). I included the two British cruisers in the game but they were never in a position to affect the outcome. I included a rule that caused PoW to suffer a gunnery failure if a d6 roll of 5+ occurred at the start of the gunnery phase; the effect of this was to  cause PoW to check fire until the failure was completed (a d6 roll of 4+ at the start of each subsequent gunnery phase). This was a bit more severe than the actual effects of her failures in the battle, but served to speed up play and gave a good feel to the game.

Sunday, 19 May 2019

Denmark Strait Scenario

Readers will have seen my earlier post regarding the battle of Denmark Strait, Briefly, the plan is for players around the world to refight the action on or around the anniversary using their favourite rule sets and to post AARs, letting us compare the results and to promote naval wargaming.

I've put together the standard scenario in a graphic below, and I'm planning at least 2 games, one using "Find, Fix and Strike", the other with GQ2. If I have time I might break out the 1/1200 collection as well and use the old Skytrex WW2 rules.


Saturday, 2 February 2019

Denmark Strait

One of the things that I have had in mind to try sometime is to fight a particular battle with different rules and to compare results, having seen the Society of Ancients do something similar over the years. It would seem to be an interesting group project, so I suggested this on the Facebook "Naval Wargames" group, but since there are many who don't use Mr Zuckerberg's site I thought I'd repeat it here.


The idea is to refight the 1941 battle of Denmark Strait, ideally around May 24th this year, play out the battle and then for as many people as possible to compare notes. Nothing to stressy, just play out the battle with your local chums, then post a brief AAR to the FB group, on your blog or to me listing the rules used and the result of the game. A few people on the FB group asked about a common scenario so I'm working up a simple one page sheet that has the "core" starting points for an action commencing at 0552 on May 24th, and which lists various possible options (such as including the Suffolk and Norfolk in the action, optional rules for defective shells and turrets, etc.). I'll plan to post that here once I've had a chance to work it up properly.

Is anyone interested? For starters I'll be doing it with "Find, Fix and Strike", and I might try GQ2 as well.

Of course this is just a precursor to INWarD 2019, taking place in August :)

Tuesday, 5 June 2018

That's Neat, That's Neat....

.....That's neat,that's neat, I really love my "Tiger Fleet" :)

last week saw me enjoying a few days of R&R, renovating my 1/600 WW2 coastal forces collection. In amongst replacing broken masts, fixing broken gun barrels and basing 40-odd ships and boats that needed doing I also built a pile of models that have been languishing unmade for some time (in some cases 20+ years). Chief amongst these were a handful of Yugoslavian partizan "Tiger Fleet" craft from PT dockyard. These are lovely characterful models, albeit tricky to build when it comes to the various deck guns. But the Adriatic has always been a "thing" for me as far as WW2 coastal is concerned so these were a must have.


Also in there is an old SDD caique, which works well for either a partizan or a commandeered Axis armed transport.


Lovely little models, and hopefully appearing in action at the Berkeley Vale club in the not too distant future :)

Sunday, 11 June 2017

Midway

This month saw the 75th anniversary of the battle of Midway. Having done  Trafalgar on its 200th, Lissa on its 150th, Tsushima and Jutland on their centenaries and North Cape on its 60th it seemed the natural thing to do a 75th anniversary refight of this classic battle. Alas various logistical issues meant the actual game had to be a bit later than I'd hoped so rather than playing over the weekend of the 3rd/4th the game was actually run on June 10th. The venue was the skittle alley of the Tudor Arms pub in Slimbridge, regular meeting place of the Berkeley Vale wargames club.

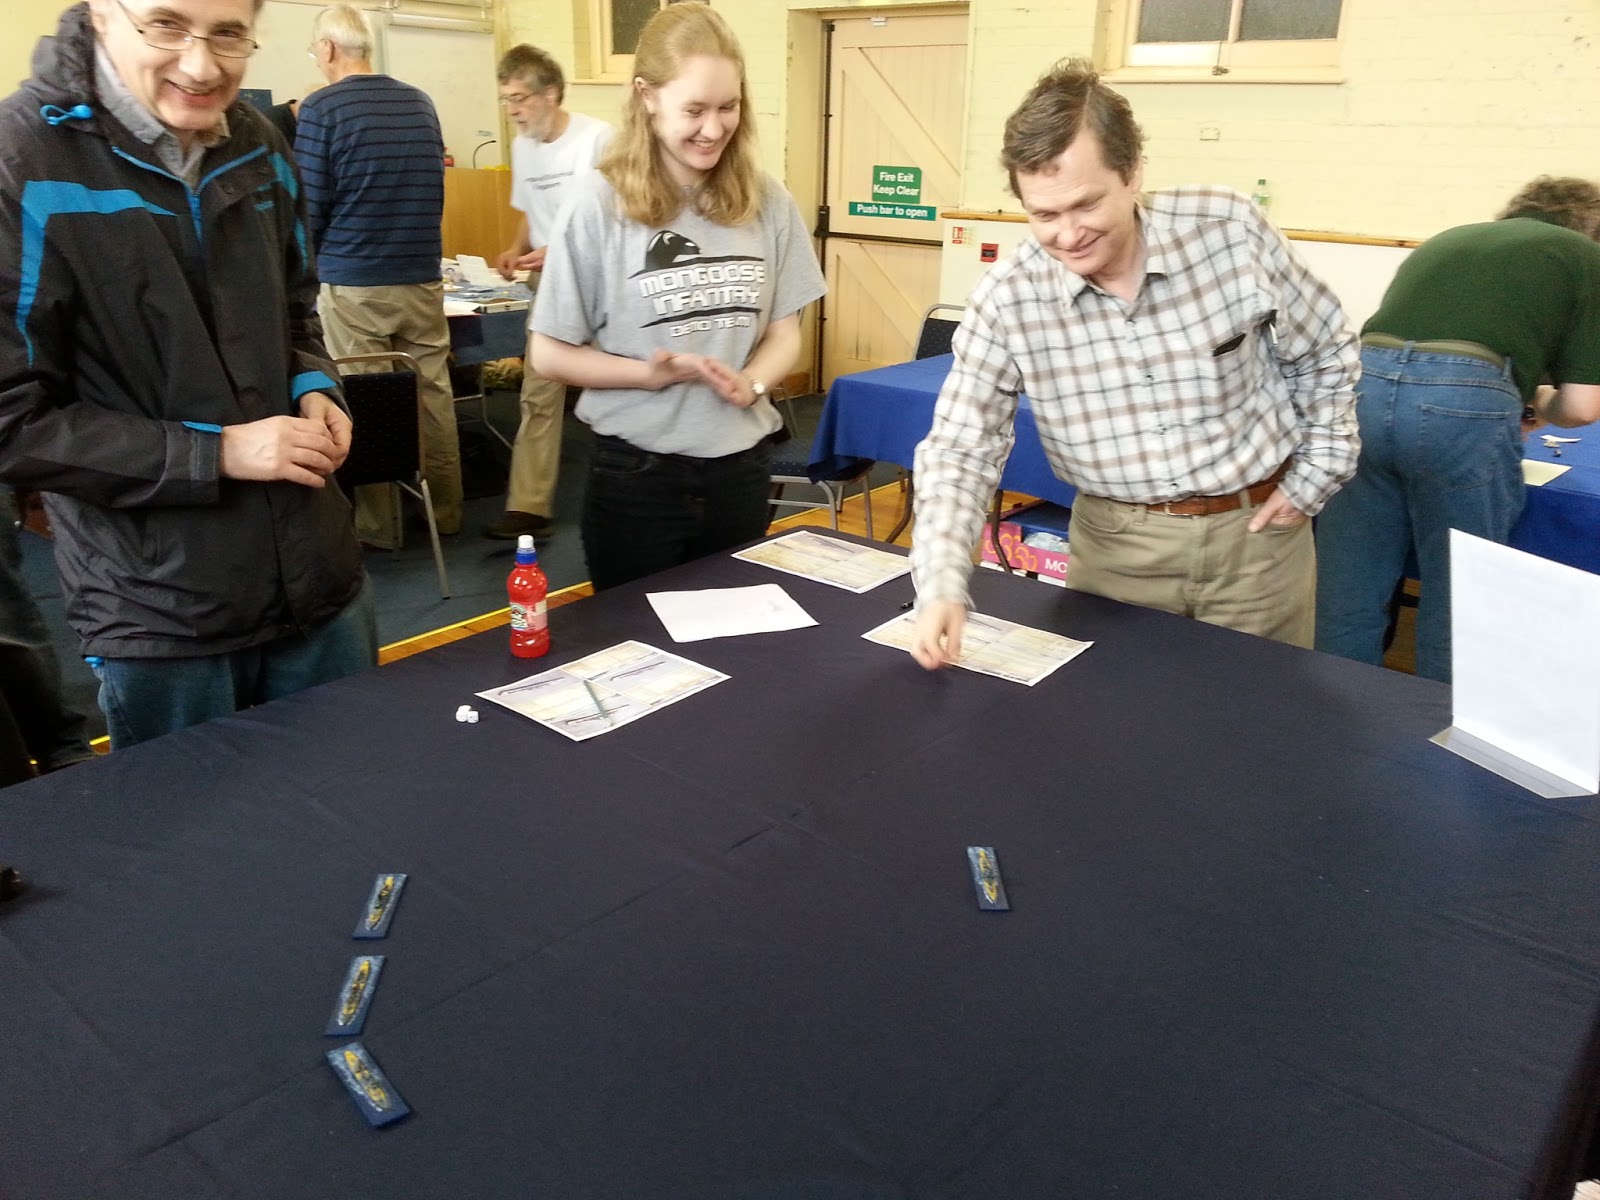
Ready for the off. Alas I was so tied up running the game that this was the only photo I got all day!

The game comprised ten players in eight commands (three US, five Japanese) with some of the less interesting commands being run by the campaign system (i.e. the umpires).  I umpired the game, ably assisted by Stuart Barnes Watson and Stuart Machin as my umpiring team - they provided the link between "game control" and the commands, collecting and distributing order, communications etc. as well as assisting with the various tactical battles that ensued. To add some more spice to the game and to give the players some additional (vaguely) plausible assets to use  I allowed each side to have some "extras", so the Japanese added Zuikaku with Shokaku's air group embarked, whilst the US got Saratoga with a scratch air group from San Diego.

I kept track of the course of the action using Powerpoint. Before the game I had created a presentation using the game chart. Task force positions were plotted on the chart and search locations compared with those positions to determine if any contact had been made. At the end of the turn I typed up a short record of key actions that turn, then saved the file, created a "duplicate slide" and then used that as the basis for the next turn's movement. In so doing I also created a turn by turn record of the game.

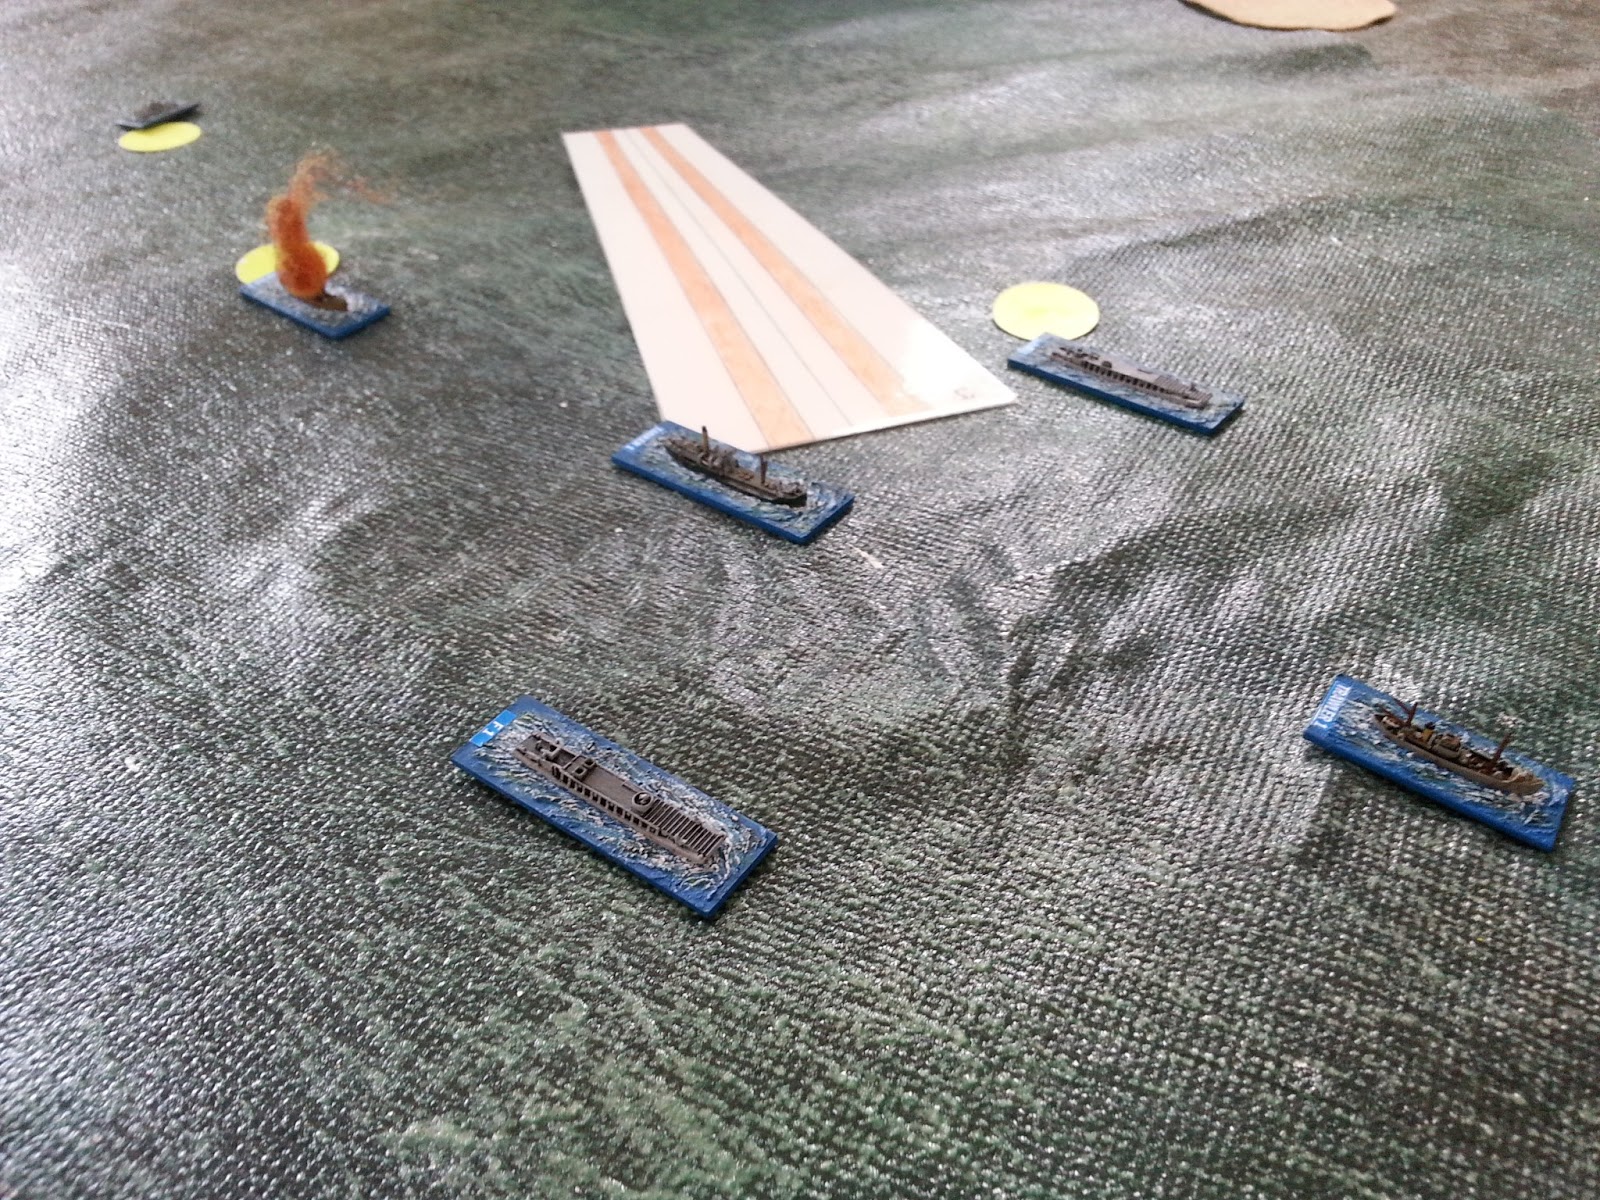
The situation at 0800 June 4th 1942

Starting points were pretty much as in the historical battle, with the optional forces tagging along behind and entering slightly later. B17s from Midway made the first contacts, detecting the Japanese carrier strike force early on June 3rd, although the contact was initially misreported, a follow-up mission correctly identifying at least 2 flat-tops a few hours later. All the while TF16 and 17 closed from the North East - although oblivious to the contacts since they were not advised by the command at Midway as to what had been seen. A third B17 recce mission was bounced by CAP from Hiryu before reporting and, worse for the US, a Val from Kaga spotted TF17 at extreme range. The Japanese players quickly mounted a dive bomber strike and a force of Vals and Zeroes headed off from Akagi and Kaga to meet the two US carriers (curiously there was no strike from Hiryu and Soryu). The dive bombers and their escort found an alert air defence over the carriers and soem horrendously accurate AA fire which saw only one Val getting into position to bomb Enterprise - only to see her bomb drop harmlessly in the carrier's wake. Air losses on both sides were high in this initial encounter. The Japanese were left ruing their decision not to make an all out attack.

Alerted to the presence of the Japanese carriers, the US TFs redoubled their search efforts and four hours later an SBD from Yorktown found the Japanese. Yorktown immediately launched a strike. In a battle eerily reminiscent of reality Yorktown's TBDs were shot to pieces as they made their attack, but the SBDs were more successful, scoring three hits. Success, or so they thought, since the damage rolls (conducted in secret to preserve the fog of war) resulted in only minor damage - the Japanese players rolling the best possible combination of results), which slightly slowed the Japanese carrier and had no effect on her ability to operate aircraft. With that, air operations on the 3rd wound down as the fleets settled into the night. Off Midway the defending PT boats played cat and mouse with a Japanese submarine which closed to recce the island.

Daybreak on the 4th brought disaster for the US team. Saratoga, closing from the East, ran over a Japanese sub and was torpedoed. Although not sunk she was crippled and was forced to reverse tracks and limp out of the area. However she did manage to fly off her air group to Midway, delivering some much needed additional firepower, since aircraft from Zuiho had raided the island at daybreak and caught a number of aircraft on the ground. But to the North of Midway the Japanese carrier strike force found TF17 barely 150 miles to the South East. This time the Japanese threw everything they had at the singleton carrier. In a frenzied attack Yorktown was hit by two bombs and no less than seven torpedoes - she capsized quickly - whilst Astoria, Hughes and Portland were crippled. TF17 had ceased to exist as a combat effective task force and spent the rest of the game picking up survivors from the sunken flattop and then limping out of the area.

After that frenetic action we expected more of the same, but as the 4th wore on it was apparent that lady luck wasn't with either side as far as their air searches were concerned, and no contacts were made (several missions came tantalisingly close to making contact). That all changed at Midday when a Catalina from Midway spotted Yamamoto's Main Force 300 miles from the island and heading straight for it. Contact was maintained and at the optimum time an "alpha strike" from Midway hit the Japanese battleships. Yamato was singled out as a target. With no air cover the US bombers from the island plus Saratoga's air group plastered the Japanese flagship, but the US players managed probably the worst run of die throws of the game to score only a single torpedo hit which caused little damage. However, Nisshin was disabled and detached from the group. Meanwhile. Zuiho's air group mounted another strike on Midway. This time the defenders got the better of the Japanese as a swarm of Buffaloes and the odd Wildcat fought them off, preventing any of the strike aircraft reaching he island.

In a rare example of co-operation the Midway garrison sent a contact report to TF16. The result was a follwo up strike on Yamamoto's force as it continued to close on Midway. again Yamato was the target and this time the die rolls worked in the Us  favour. Yamato was left dead in the water (she would be scuttled at game's end) and Yamamoto himself was killed by a direct hit to the bridge. Chiyoda was also crippled in the same attack.

As darkness fell Kongo and Hiei with their attendant heavy cruisers closed with Midway to conduct a shore bombardment. The island's PT boat force atacked though the night, sinking one destroyer, crippling a second and damaging the cruiser Chokai. Missed opportunity of the night was a PT boat which managed to launch four torpedoes against Zuiho (she was not detached from the group), only to see them miss astern, The bombardment on the airfield was moderately effective with 17 planes destroyed; return fire form the shore batteries was largely ineffective.To the West the surviving members of the Japanese Main Force ran through the US submarine patrol line; Nagato was hit twice which slowed her enough to force her detachment from the force.

As day broke US search planes failed to find the Japanense carriers Midway island was hit by a full strike from the Zuikaku; the extra carrier had been attached to the Midway Support Force and had made a stealthy approach to the islands from the west and south. Undetected throughout the game her strike caused significant damage. To the North the remnants of TF17 were hit by planes from Akagi and Kaga; none of the US ships survived.

At this point, after nearly 9 hours of play and with a number of the commanders having to head home we drew stumps. At the end it was looking a bit sad for the USN, Yorktown sunk, Saratoga crippled but escaping to the East. On the Japanese side Yamato and Yamamoto were gone, Zuiho's air group had suffered terminal losses in the air over Midway but their force was otherwise fairly intact. The US had lost TF17 in its entirety, TF16's air wings were depleted and Midway was effectively surrounded by Jananee surface groups hell-bent on bombarding the island, with the invasion force poised to the South. We judged that the US would probably pull out and let the Japanese attempt a landing, so a victory to the Japanese, but not as massive a victory as it appeared it may have been since TF16 was still at large (albeit in a perilous position).

It was a fun game, everyone seemed to enjoy it and my brain didn't explode too much from umpiring. Thanks to Stuart Barnes-Watson for being my umpiring team and for keeping me sane (and to both for bringing models). Alas I only got one photo at the start, but the players were taking pics so I hope to see some of them soon.

Tuesday, 24 May 2016

Denmark Strait, 75 Years On

Today marks the 75th anniversary of the battle of Denmark Strait, the battle in which a lucky hit from Bismarck caused a magazine explosion and the total loss of HMS Hood and all but 3 of her 1415 crew. I decided, I suspect like many other naval wargamers around the world, to mark the occasion with a refight of the battle.

Let battle commence

I used my venerable 1/3000 ship models (themselves veterans of over 30 years of gaming) and my old favourite rules, General Quarters 2. As I was playing in the wargames cabin on my 6x4 table I used centimetres for inches when measuring for gunnery and movement. So the action looks a bit compressed in the photos. We started the action at 0554. Bismarck got the range immediately and hit Hood with a 15" salvo. But unlike the real battle the hit caused only minor damage. Both British ships missed.

Early hits on Hood

At 0600 Prince of Wales hit Bismarck, again only limited damage was caused, but six minutes later Hood landed a solid hit on the German battleship, knocking out one of her 15" turrets. Worse was to come. The two squadrons traded blows with little effect, Prinz Eugen's guns ineffective against Hood's armour other than to trouble the secondary gun crews, and Bismarck's accurate gunnery deserting her for a while. Then at 0618 Prince of Wales caught Bismarck with a heavy salvo that knocked out a second turret, caused flooding forward and a second flood aft (1"A" hit, 1"H" hit and a DC critical.

The Germans close, Hood about to shift fire to Prinz Eugen

Things were looking bad for Lutjens, but his next few salvoes caught Hood and destroyed one of her 15" gun turrets. A this point it was apparent that the Germans were seeking to close the range to the British battleships with a view to conducting a torpedo attack. Hood shifted fire to Prinz Eugen. The effect was devastating, as salvo after salvo hit the German cruiser. She was stopped in the water after 12 minutes, sunk after 18. She disappeared beneath the waves at 0648.

Meanwhile, Prince of Wales concentrated on Bismarck as she passed behind the burning wreck of her smaller consort. The German battleship suffered minor hull damage as did Prince of Wales.

As the Prinz Eugen sank Bismarck shifted fire back to Hood which lost another 15" turret and suffered significant flooding that slowed her to half he maximum speed. But in the meantime Prince of Wales was closing fast on the now slowed German battleship, pumping in salvo after salvo. At 0700 Bismarck's last gun turret fell silent, she was stopped in the water by 0712 and began her final plunge to the bottom at 0718.

Bismarck stopped and sinking, in the background Hood turns back to pick up survivors

Prince of Wales checked fire and, along with Hood, moved in to pick up survivors.


Thursday, 6 March 2014

Fleet Admiral Volume 1 - A Review

Bill Madison is a name that may be familiar to some of you as the creator of the Russo Japanese War Society, and author of  "Dawn of the Rising Sun", the RJW variant of CoA’s “Fear God and Dread Naught” WW1 naval rules. Bill has now realised a long standing dream of his and released “Fleet Admiral”, the first in a two volume release of naval rules covering the period. Volume 1 covers the period 1890 to 1924 and has just been released. Volume 2, covering the remainer of the period up to the end of WW2 is hot on its heels.


FA comes as a rather nicely laid out PDF of some 142 pages. Bill’s experiences with CoA is apparent as the formatting is clearly reminiscent of the older rules. And as a result it is clearly laid out and very well presented.

As the title suggests, FA is designed for large scale games, but works just as well for squadron actions. Indeed, the example scenario that is used to illustrate various facets of the rule is the battle of Coronel.

The Order of Play is fairly conventional in its arrangement. Players write orders for movement and gunnery which are then executed. The Detection Phase follows, following which ships not previously ordered to fire may do so at newly spotted targets (this is the point at which those “late unmasking” threats are engaged).  The turn ends with damage control and book keeping.

The rules themselves are comprehensive but actually deceptively simple (not simplistic, there is a great deal of effective subtlety to them which manfests itself as a very straightforward system). There is also a weath of detail applied at points where it matters. For example, the number of fire control positions or directors is critical and so is well represented (something missing from most other rules of the period). Yet done so in a manner that fits a fast flowing game system.


Firing is resolved by broadsides, with various factors for guns firing, the environment  and tactical considerations combining with a d100 roll to give the number of hits. Each hit is them rolled for individually to see what effect it has had. The key principle of the damage system is that each damaging hit is, in effect, a “critical hit” (i.e. it will cause some discernable damage effect), so there is no gradual damage point loss, but rather a succession of well described damage effects.  Torpedo attacks are pre-plotted and resolved after a suitable delay, but otherwise are similar in their resolution to the gunnery rules.

The main rules cover a mere 20 pages after which you are ready to fight a normal surface battle. The next 20 pages cover more detailed aspects such as aerial and submarine warfare, mines, communications and weather. Again, comprehensive in coverage but straightforward in application.

There then follows ten pages of scenarios, all of which will be familiar to aficionados of the period and covering the Sino Japanese War, the Russo Japanese War and WW1. The last 90 pages cover game tables, aircraft and weapon tables and ship data cards for the example scenario.

Finally, Bill has set up a website to support the rules, which can be found at:


Here you will find all sorts of additional game resources, downloadable ship cards, scenarios etc. and previews of Vol 2. Oh, and a “learn to play in ten minutes” summary which is based on the battle of the River Plate.


All in all a very nice set of rules which I’m looking forward to getting to grips with in earnest following my recent introductory skirmish. So you can expect to see further posts on the rules and games here soon. Highly recommended J

Thursday, 27 June 2013

The Naval Wargames Weekend 2013 - Report

The Naval Wargames Weekend has come and gone for another year, and this year’s was the best yet. Thirteen games over two days, with nine games running on day 1, and seven on day 2.

On the Saturday I ran my Cod War game from Salute 2013. The rules were developed slightly from the original game and, as always, much fun and merriment ensued as frigates rammed coast guard vessels and vice versa. Highspot of the day was the “death ride of the Leander” in the final game as she rammed and sank a coast guard cutter, then immediately sideswiped a trawler and also sent her to the bottom. Instant RN loss! 


The Solent Wargames Association ran two games each day. On the Saturday Mark Backhouse ran his popular “Hail Agrippa” ancient naval participation game based on the battle of Actium. An innovative set of rules based on the “Hail Caesar” land rules, emphasising the similarities between land and naval warfare of the period.


Solent’s other table ran a WW2 coastal game in 1/1200 using Action Stations rules, with lovely models and some exquisite coastline and harbour terrain pieces that prompted much discussion. They also ran a developmental game covering piracy off Somalia.  


Mark Barker and the Inshore Squadron presented the 1797 battle of Camperdown. The battle was split into two phases, with the Southern Phase played out on day 1. As always, Mark’s models were awesome.


Wayne Pocock ran the Battle of the Yellow Sea in 1/3000 using War Times Journal minis and Naval Thunder rules. Naval Thunder has become something of a favourite with Wayne’s team within the NWS.

Jeff Crane ran the second NWS game, this time a fantasy action with another battle from his continuing  “Keshian Civil War” campaign (which must have been running for over 20 years
 now).


Rob Kirk and his team brought another WW2 coastal game, this time in 1/600 and again using Action Stations. The setting was the Mediterranean, with allied convoys beset by waves of Stukas and axis torpedo boats.

Another Mediterranean setting covered George Street’s 1/6000 modern naval game set off the coast of Crete using a variant of Shipwreck. This was an intriguing game played at the task force level.


Last but not least,  Mongoose Publishing brought along their revised Victory at Sea WW2 naval rules and samples from their new 1/1800 resin ship range. MGP played through several demo and parti games based on the Battle of the River Plate, and the new rules seemed to go gown well.


Although not run as a trade show Mongoose brought along their trade stand and they were joined on the trading front by Stuart Barnes Watson’s “Anchorage” 1/1200 ship dealership, both of which prised some cold hard cash from the hands of the captive naval wargamers present J

Saturday evening’s barbeque was cancelled due to the inclement weather, but an intrepid cadre of NWS veterans slept over at the museum after holding the NWS AGM. So we were able to reset the hall bright and early for Sunday’s games.


For me, Cod War gave way to the age of sail, with a demonstration through several participation games of Ares Games new “Sails of Glory” miniatures game. SOG is similar in concept to Wings of Glory, with simple yet effective rules using prepainted models. Many games were played, much discussion had, and the publication version awaited with great interest. As an aside the NWS will be running this game at Colours in September.


Solent continued with the WW2 coastal and Somali pirate theme, but also brought a lovely 20mm Sudan-esque riverine game. This was a characterful game with some lovely scratch built riverboats, which always seemed to be having a hard time against the Dervish horde!


Mark Barker’s Inshore Squadron  moved on to the Northern Phase of Camperdown. As with the previous day’s action it seemed the British were getting the rough end of the stick for a change!

Rob Kirk’s team brought along their “Cockleshell Heroes” parti game, with canoes converted from Airfix 20mm Commando figures, scratch built “targets” and the dastardly Hun appearing from the shadows. I didn’t get a chance to play this one but I spoke to some that did and it was a lot of fun.


Ian Armstrong, one of Rob’s team, also brought along his “work in progress” – fleets of scratch built Tudor era warships, fully rigged, fully crewed, which had to be seen to be believed. This is a project that has been running since 2001. With luck the fleets will be completed ready for a game at the next show in 2014.


So, more games than ever, more games than we used to have at the old NWS show at Fort Brockhurst and, as far as I am aware the biggest naval themed wargames event in the UK, Europe and (maybe) the world. The aim of the show was to give naval wargamers an opportunity to get together, play games, try each other’s games and to swap ideas and techniques. In that I think it worked very well. The feedback from attendees has been great with everyone planning to come back in  2014. The tentative plan is to hold a slightly bigger event the same weekend, so pencil in the 21st and 22nd June for next year J

Saturday, 29 December 2012

Mussolini's Navy


Mussolini’s Navy – A Reference Guide to the Regia Marina 1930-1945
Author: Maurizio Brescia
Published by Seaforth
ISBN  978-1-84832-115-1


Like many naval wargamers I have always had a fascination with the Italian Navy of WW2. My interest was spawned by my brother’s 1/1200 scale plastic kit of the Vittorio Veneto (a model I still have today, over 30 years on). So I was interested to hear that Seaforth were releasing a reference guide to the Italian Navy of WW2. As far as I am aware there is no other book , certainly available in English, of its type available anywhere. I have to tell you that this is a most excellent book and possibly the only technical reference that those with less than a very deep interest will ever need. In 240 pages Sig. Brescia covers every ship in the Regia Marina from battleship down to rescue tugs, submarines to “Maiale”, including prize ships and others. The book begins with a brief history of the RM from 1861 to the outbreak of WW2, then goes on to describe in detail the various naval bases and key facilities, fleet organisation and operations around the Mediterranean but also the Black Sea, Red Sea and Atlantic, detailed technical descriptions of all naval craft, naval aviation, both ship and shore based, warship camouflage schemes, flags, uniforms and a “who’s who” of key Italian naval personnel of the period.

The book is profusely illustrated with diagrams and excellently reproduced photographs. A real boon is the inclusion of a colour section, 16 extra pages showing camouflage schemes, some lovely period colour photographs, flags and insignia details.

This is not an operational history of the Italian Navy, but is an essential supporting reference that details how and why the RM was organised, assembled and equipped as it was. I have found it to be an invaluable work in some of my current projects and would not hesitate in recommending it to all with an interest in the naval war in the Mediterranean in WW2. 

Saturday, 7 July 2012

German Naval Camouflage - Volume 1

Something rather lovely popped through the letter box this week - a copy of "German Naval Camouflage" by John Asmussen and Eric Leon.


This is an excellent publication, written by the creator of the famous  www.bismarck-class.dk website and beautifully illustrated by Eric Leon. Over 190 pages covering every major German surface warship from the light cruisers upwards, including (as far as possible every variation in colour scheme and tactical markings, a selection of destroyer schemes and even a few pages on embarked seaplanes. The many colour illustrations are supported by a myriad of photographs (many of them quite rare and unusual), and a very readable and informative text.

Well worth grabbing a copy, and highly recommended! I can't wait for volume 2!!